Step 1 – On the day of your appointment.
The EEG Tech you spoke with during scheduling will call you 30 minutes to an hour prior to his/her arrival. The first step will be finding the correct spot for the audio/video equipment, this will likely be in a bedroom or living area. The tech will set the equipment up and show you a few features on a small touch screen. This process will take 10-20 minutes and this equipment will stay in this location for the duration of the recording.
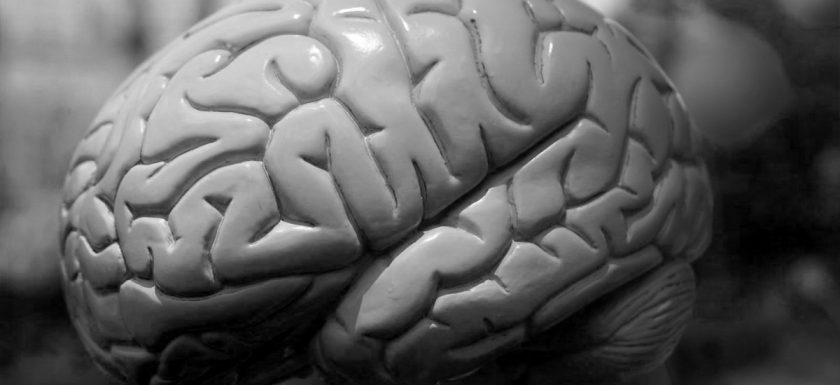
Step 2 – Physically hooking the electrodes to your head.
If you have had an EEG before, this will be a very similar process. If not, relax, this is a pain free procedure. The technician will measure your head and use a small crayon to make marks on your scalp. These marks are then cleaned and prepped for the electrodes. There are generally 25 electrodes on your scalp and 2 on your chest (these monitor your heart).
The electrodes sit on the surface of your skin and are secured with a small square of gauze that is glued over the electrode. The glue we use has a strong odor but it dissipates quickly. It holds the electrodes very secure to ensure a clean recording. These electrodes have wires that connect to a small recording device. The Tech will secure all of the wires into a ponytail and place a small stretchy cap over your head to help protect the electrodes. The recorder goes into a small bag that can be worn like a purse or on a belt. This device weighs less than 2 pounds and will be with you for the duration of the recording. This whole process takes around 45-55 minutes.
Step 3 – Start the recording.
The Tech will check his work and make sure the leads are providing a clear picture. The Tech will go over some key points to remember and show you how to work the equipment. You will be provided with a direct line of contact for your Tech. Your Tech will answer any question you might have before leaving. This will take 20-30 minutes.
Step 4 – Remote monitoring, staying on camera, and keeping your patient event sheet filled out.
Your Tech will be monitoring your test for electrode integrity and general test quality. During this time you will need to stay in view of the camera as often as possible, day and night. You will also need to monitor yourself for any events, episodes, or spells you might have. These events need to be documented on your “patient event sheet” if possible. The Tech may have to come back to your home to maintain the leads or change batteries in your recording device during this time.
Step 5 – Ending the recording and removal of electrodes.
Your Tech will return to your home on the last day of your recording to remove all of the equipment. We use a solution that softens the glue before removal. There is no pain associated with the removal process. The disconnect process is much quicker. This will only take 20-30 minutes. Your hair will be messy but most of the product will wash out with a warm shower. If there is any glue that is still in your hair after your shower, you can use acetone (fingernail polish remover) to help remove it.